BUILDS
BayRc Online Build Thread
BayRc Online build Thread
BayRc Online Build Thread
BayRc Online Build Thread
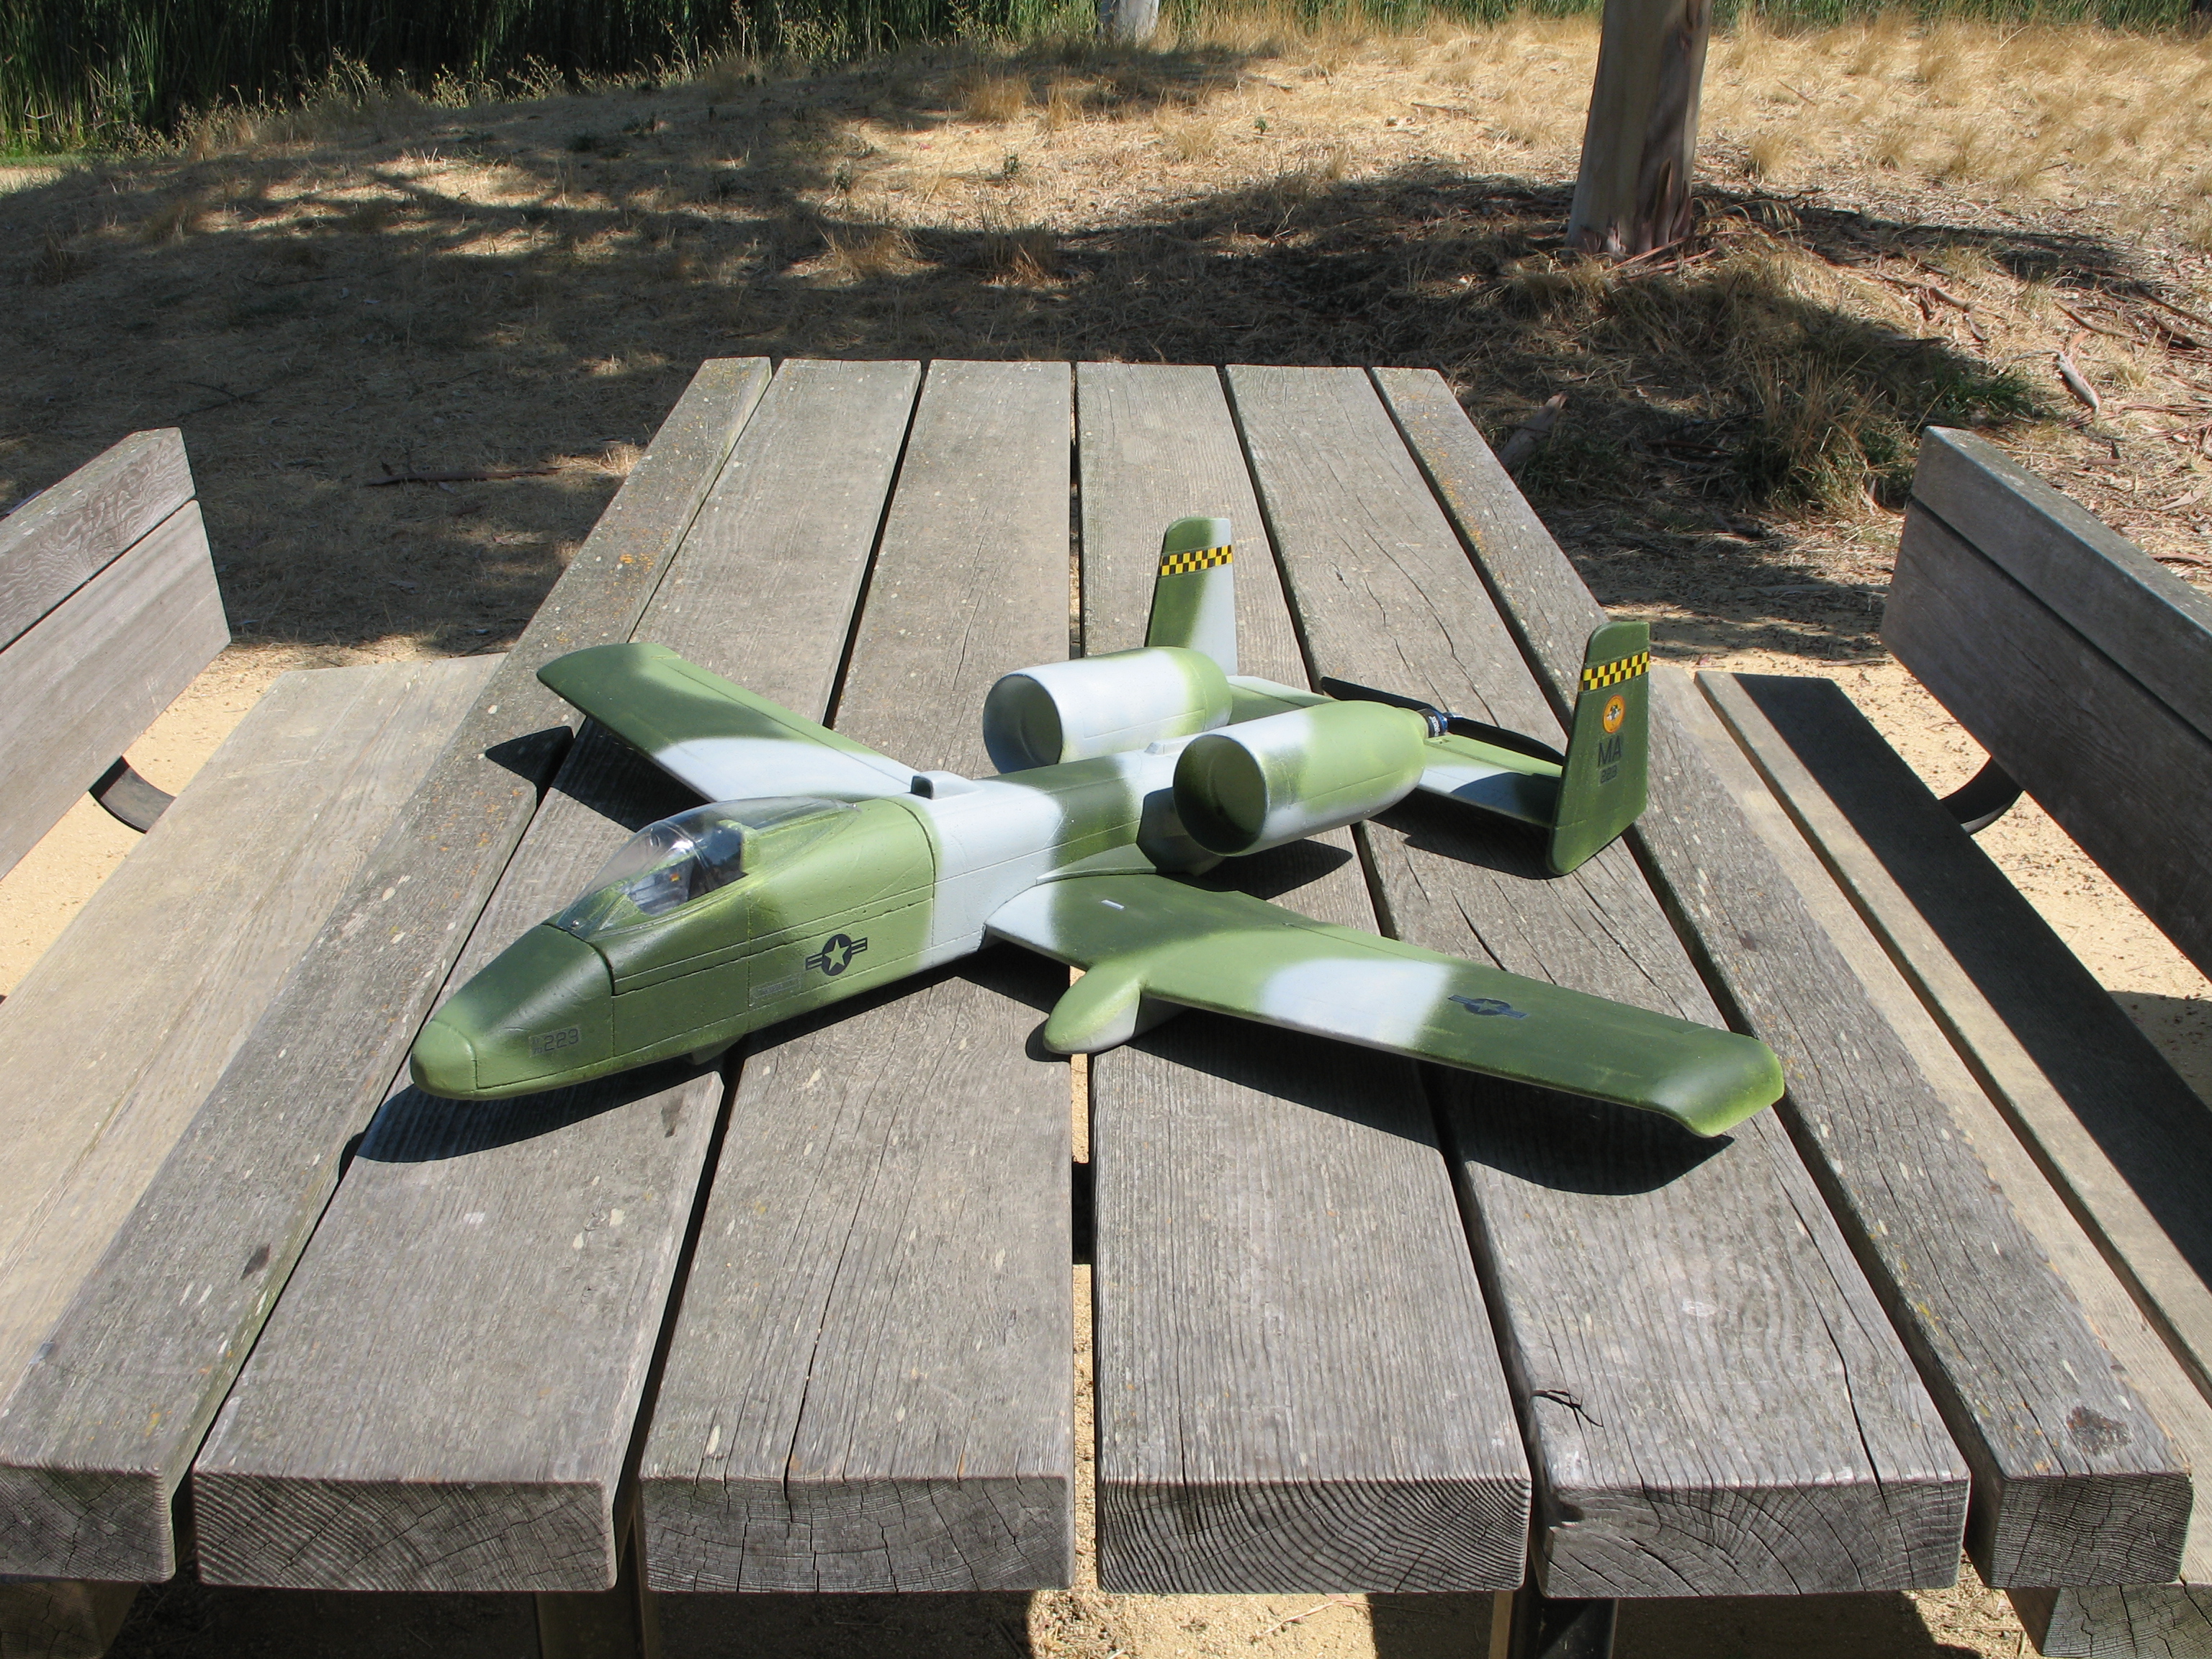
GWS A10
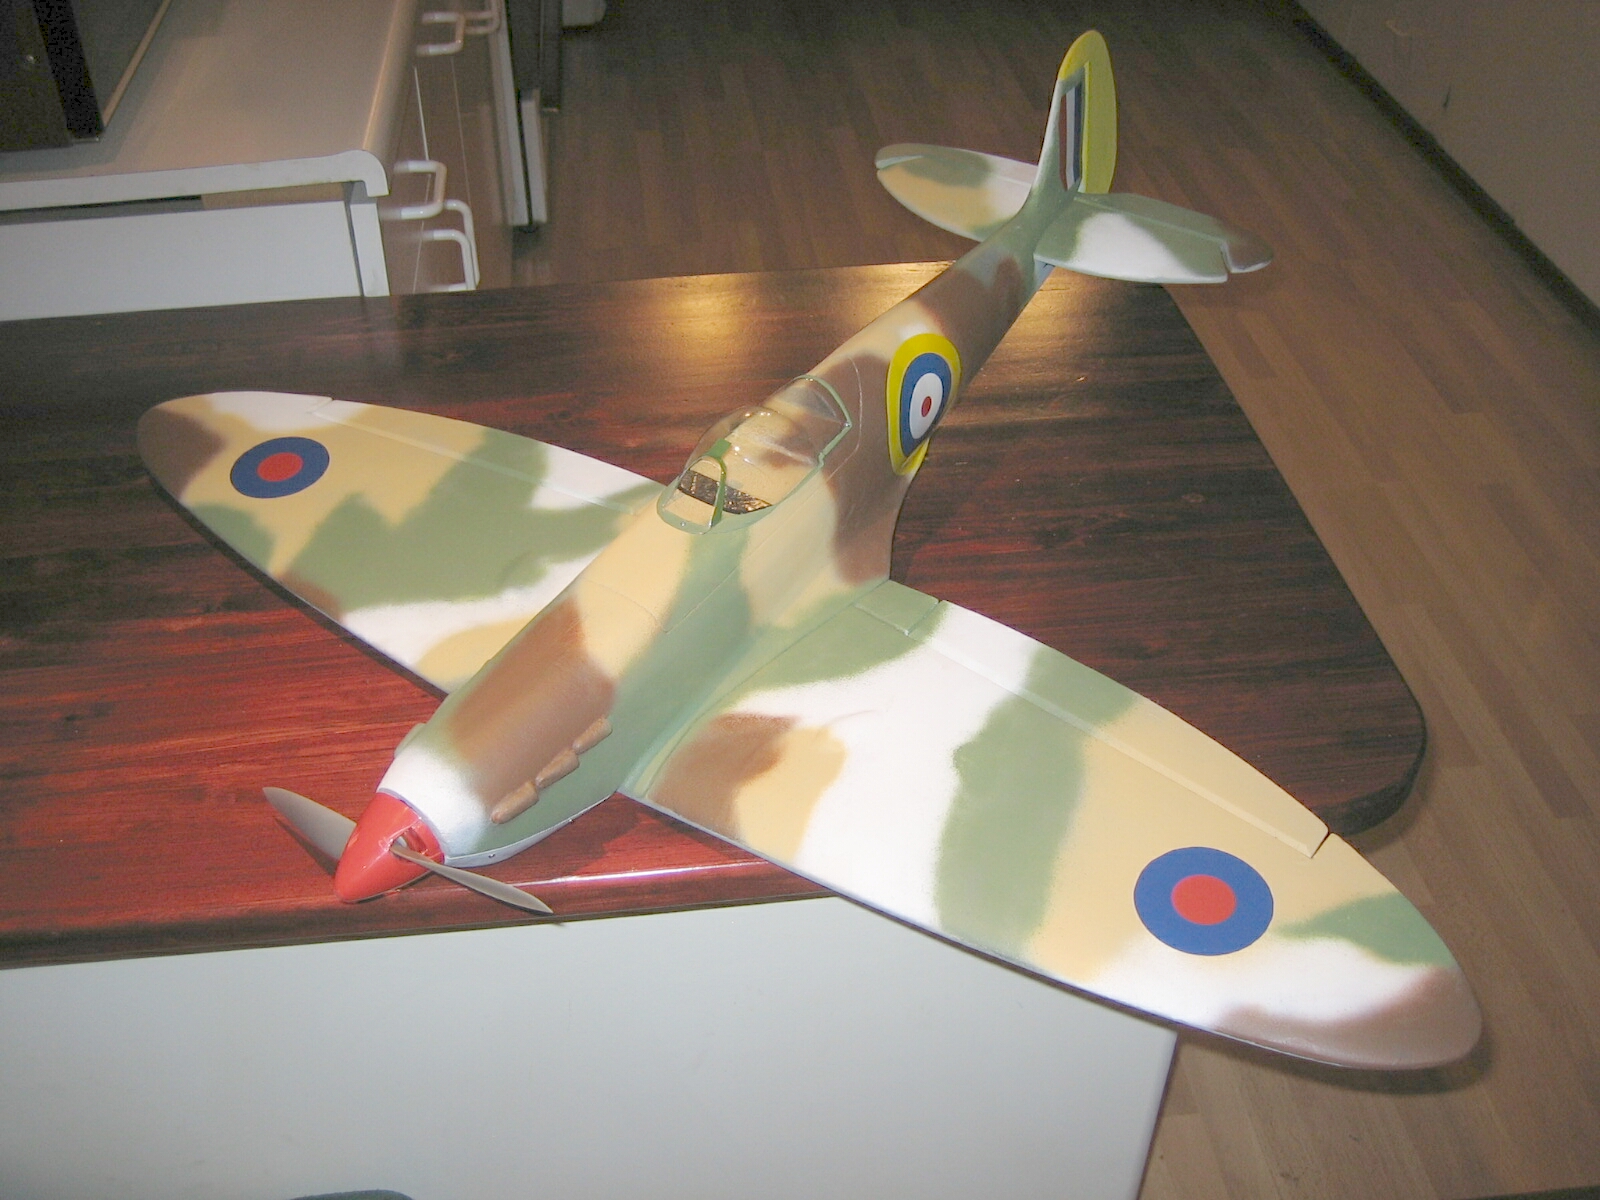
GWS SPITFIRE
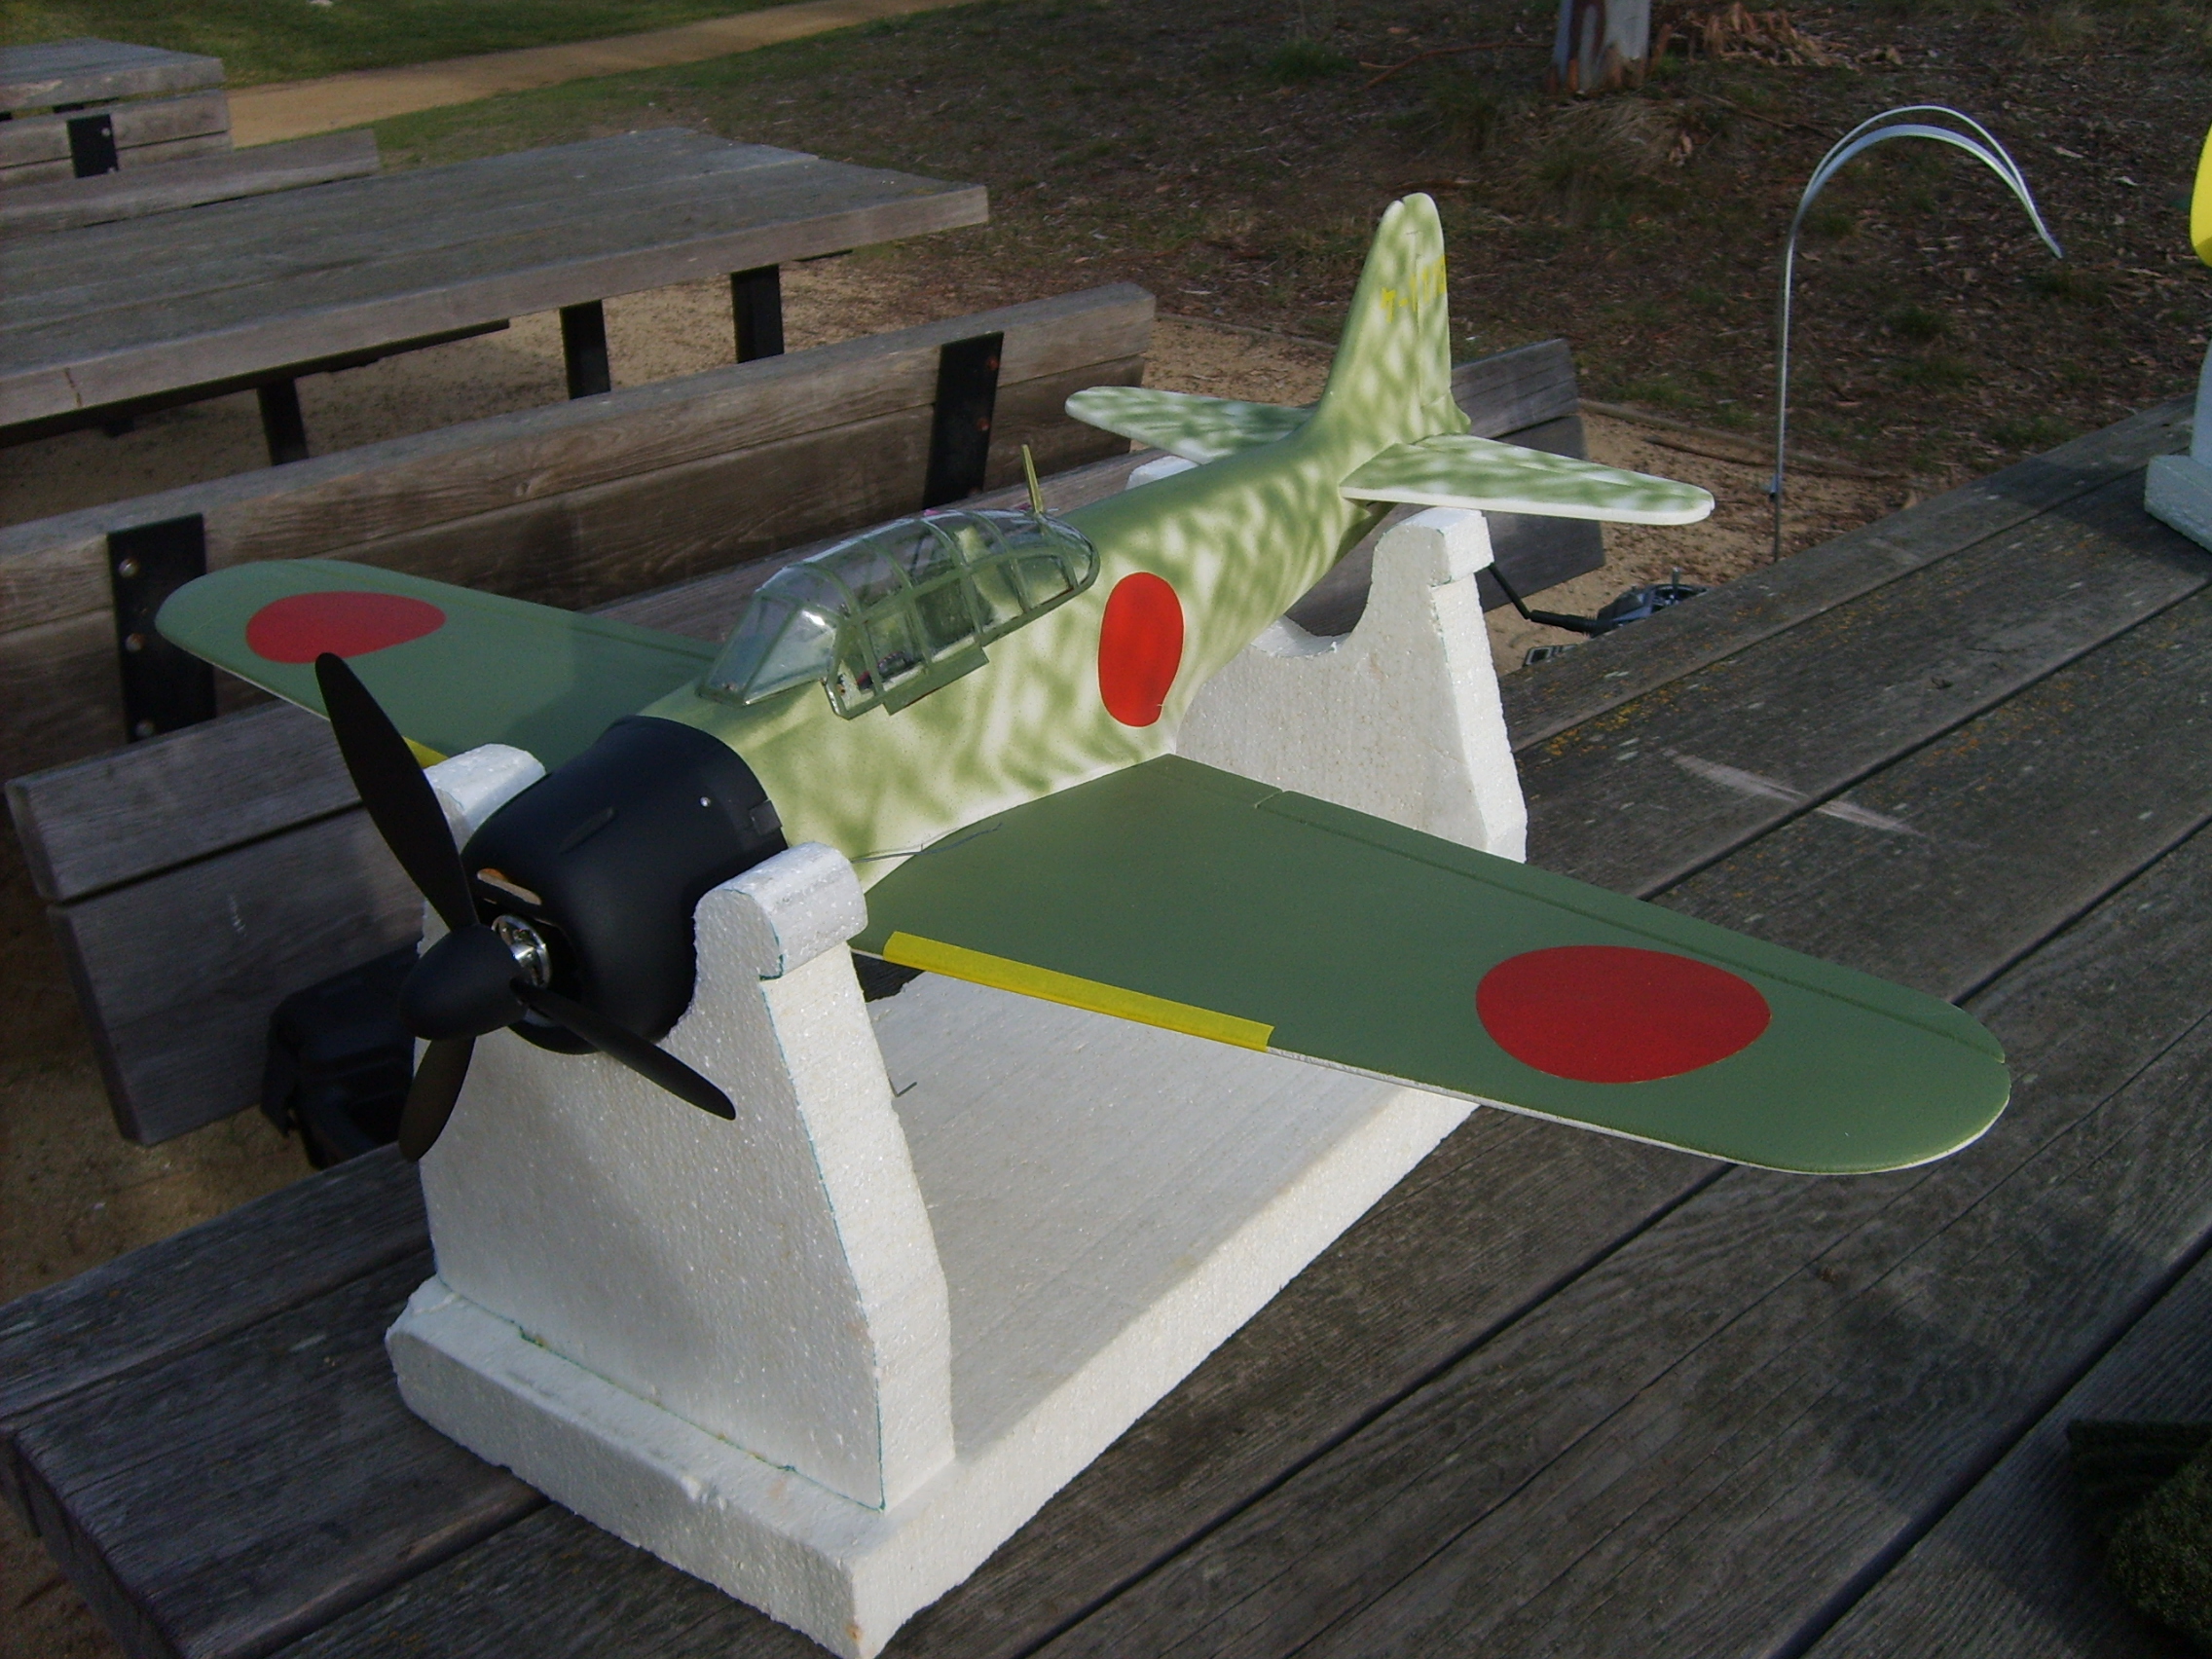
GWS ZERO
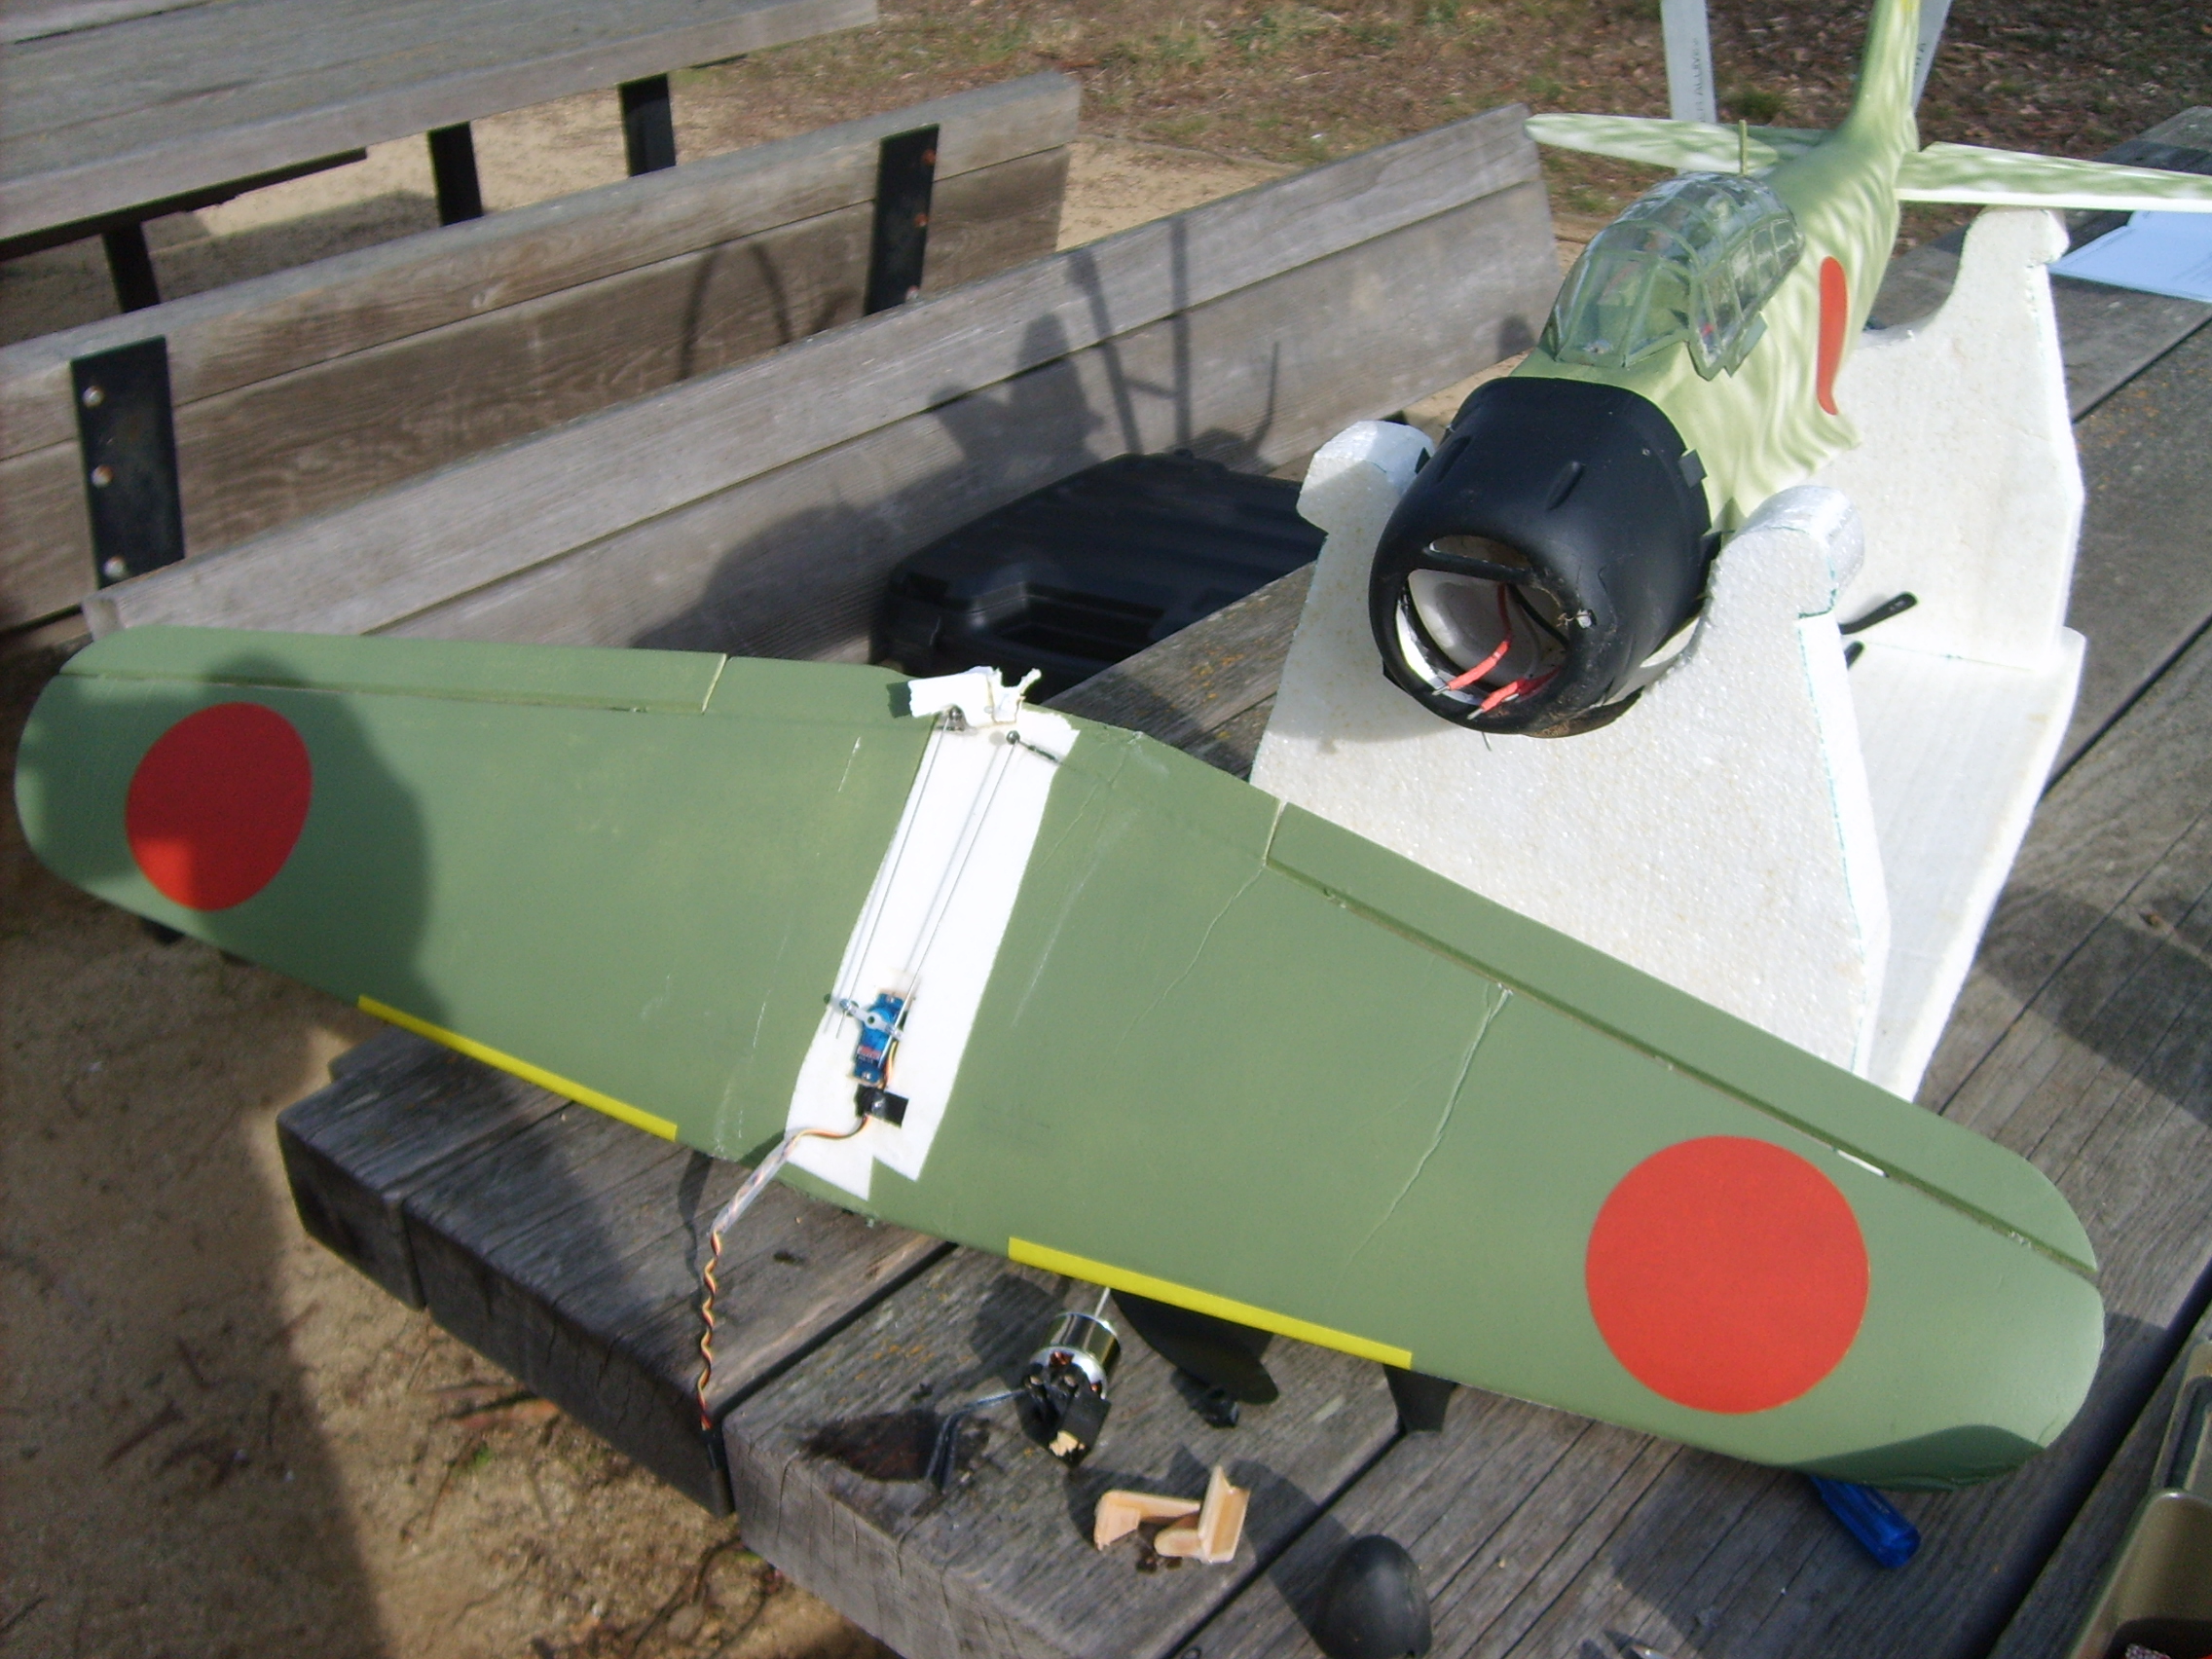
GWS ZERO (after crash...)
DOO-DADS AND IDEAS
HOME
PRODUCTS
SERVICES
BUILDS
LINKS
CONTACT
GALLERY
MOVIES
VACUUM FORMING